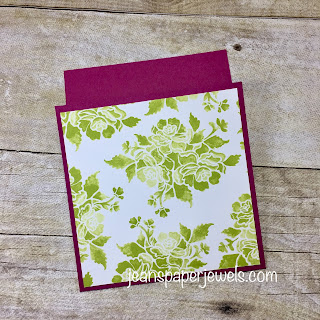
Today I have a FREE tutorial for you on the Three Way Fold Card Technique. My sample shows a card that folds from bottom to top. You use the same measurements for a top, or side fold card. That's why it's called a Three Way Fold Card.
Here is a picture of the inside of my card. I used a new stamp set for both the inside and out. It is called Detailed With Love, and will be available in the new catalog that comes out June 1, 2018. The pretty pearlized doily will also be available at that time.
My card stock base is Berry Burst, and the designer paper is Fresh Florals that is retiring the end of this month. Be sure and check out the retirement list as products are only available while supplies last.
Three Way Card Tutorial
1. You will need a piece of card stock that measures 4 1/4" x 11" for the card base, one piece of coordinating designer series paper that measures 4" x 4", one piece of coordinating designer series paper that measures 1 1/4" x 4", and one piece of Whisper White Card Stock that measures 4" x 4".
2. Score the card base in half at 5 1/2", then cut it to 9 3/4" in length.
3. Adhere the 4" x 4" piece of designer series paper to the card front. (First determine which way you want the card to fold...top, middle, or bottom).
4. Attach the 4" x 4" piece of Whisper White Card Stock to the inside of the card base, and the 1 1/4" piece of designer series paper next to the the Whisper White piece.
5. Add a piece of ribbon if desired. It doesn't have to go all the way around if you are going to cover it with a doily, and/or die cut for the sentiment.
6. Add the doily, die cuts or punches, stamped images, and embellishments of your choice.


No comments:
Post a Comment