Showing posts with label Tutorial. Show all posts

Monday, June 9, 2025

Beautiful Gallery Designer Series Paper Sweet & Simple Card Tutorial


Today I’m sharing a beautiful and simple card design using the Beautiful Gallery 6" x 6" Designer Series Paper along with a sentiment from the Sunrise Sailing Stamp Set. These layered cards are not only elegant but super easy to recreate — perfect for crafters of all levels!


Project Details:

✨ Card Base:

  • Color: Secret Sea

  • Size: 4 1/4" x 11", scored at 5 1/2" (A2 top fold)

📄 Layer 1:

  • Basic White or Basic Beige

  • Size: 5 1/4" x 4"

☁️ Layer 2:

  • Cloud Cover

  • Size: 5" x 3 3/4"

🎨 Focal Layer:

  • Beautiful Gallery DSP

  • Size: 4 3/4" x 3 1/2"

  • Pro tip: You’ll have enough DSP left to decorate your envelope!

💬 Sentiment Strip:

  • Size: 1/2" x 3"

  • Stamped in VersaMark and heat embossed in white

  • Embellished with White Twine and three Neutral Matte Dots


📥 Download the Full Tutorial PDF:
Click here to download the card instructions (PDF)

I hope you give this design a try! It’s a great way to highlight gorgeous DSP while keeping things clean and sophisticated. Feel free to share your versions with me in the comments below or tag me on social media!

Happy crafting!
💙 Jean
jeanspaperjewels.com


Thursday, May 18, 2023

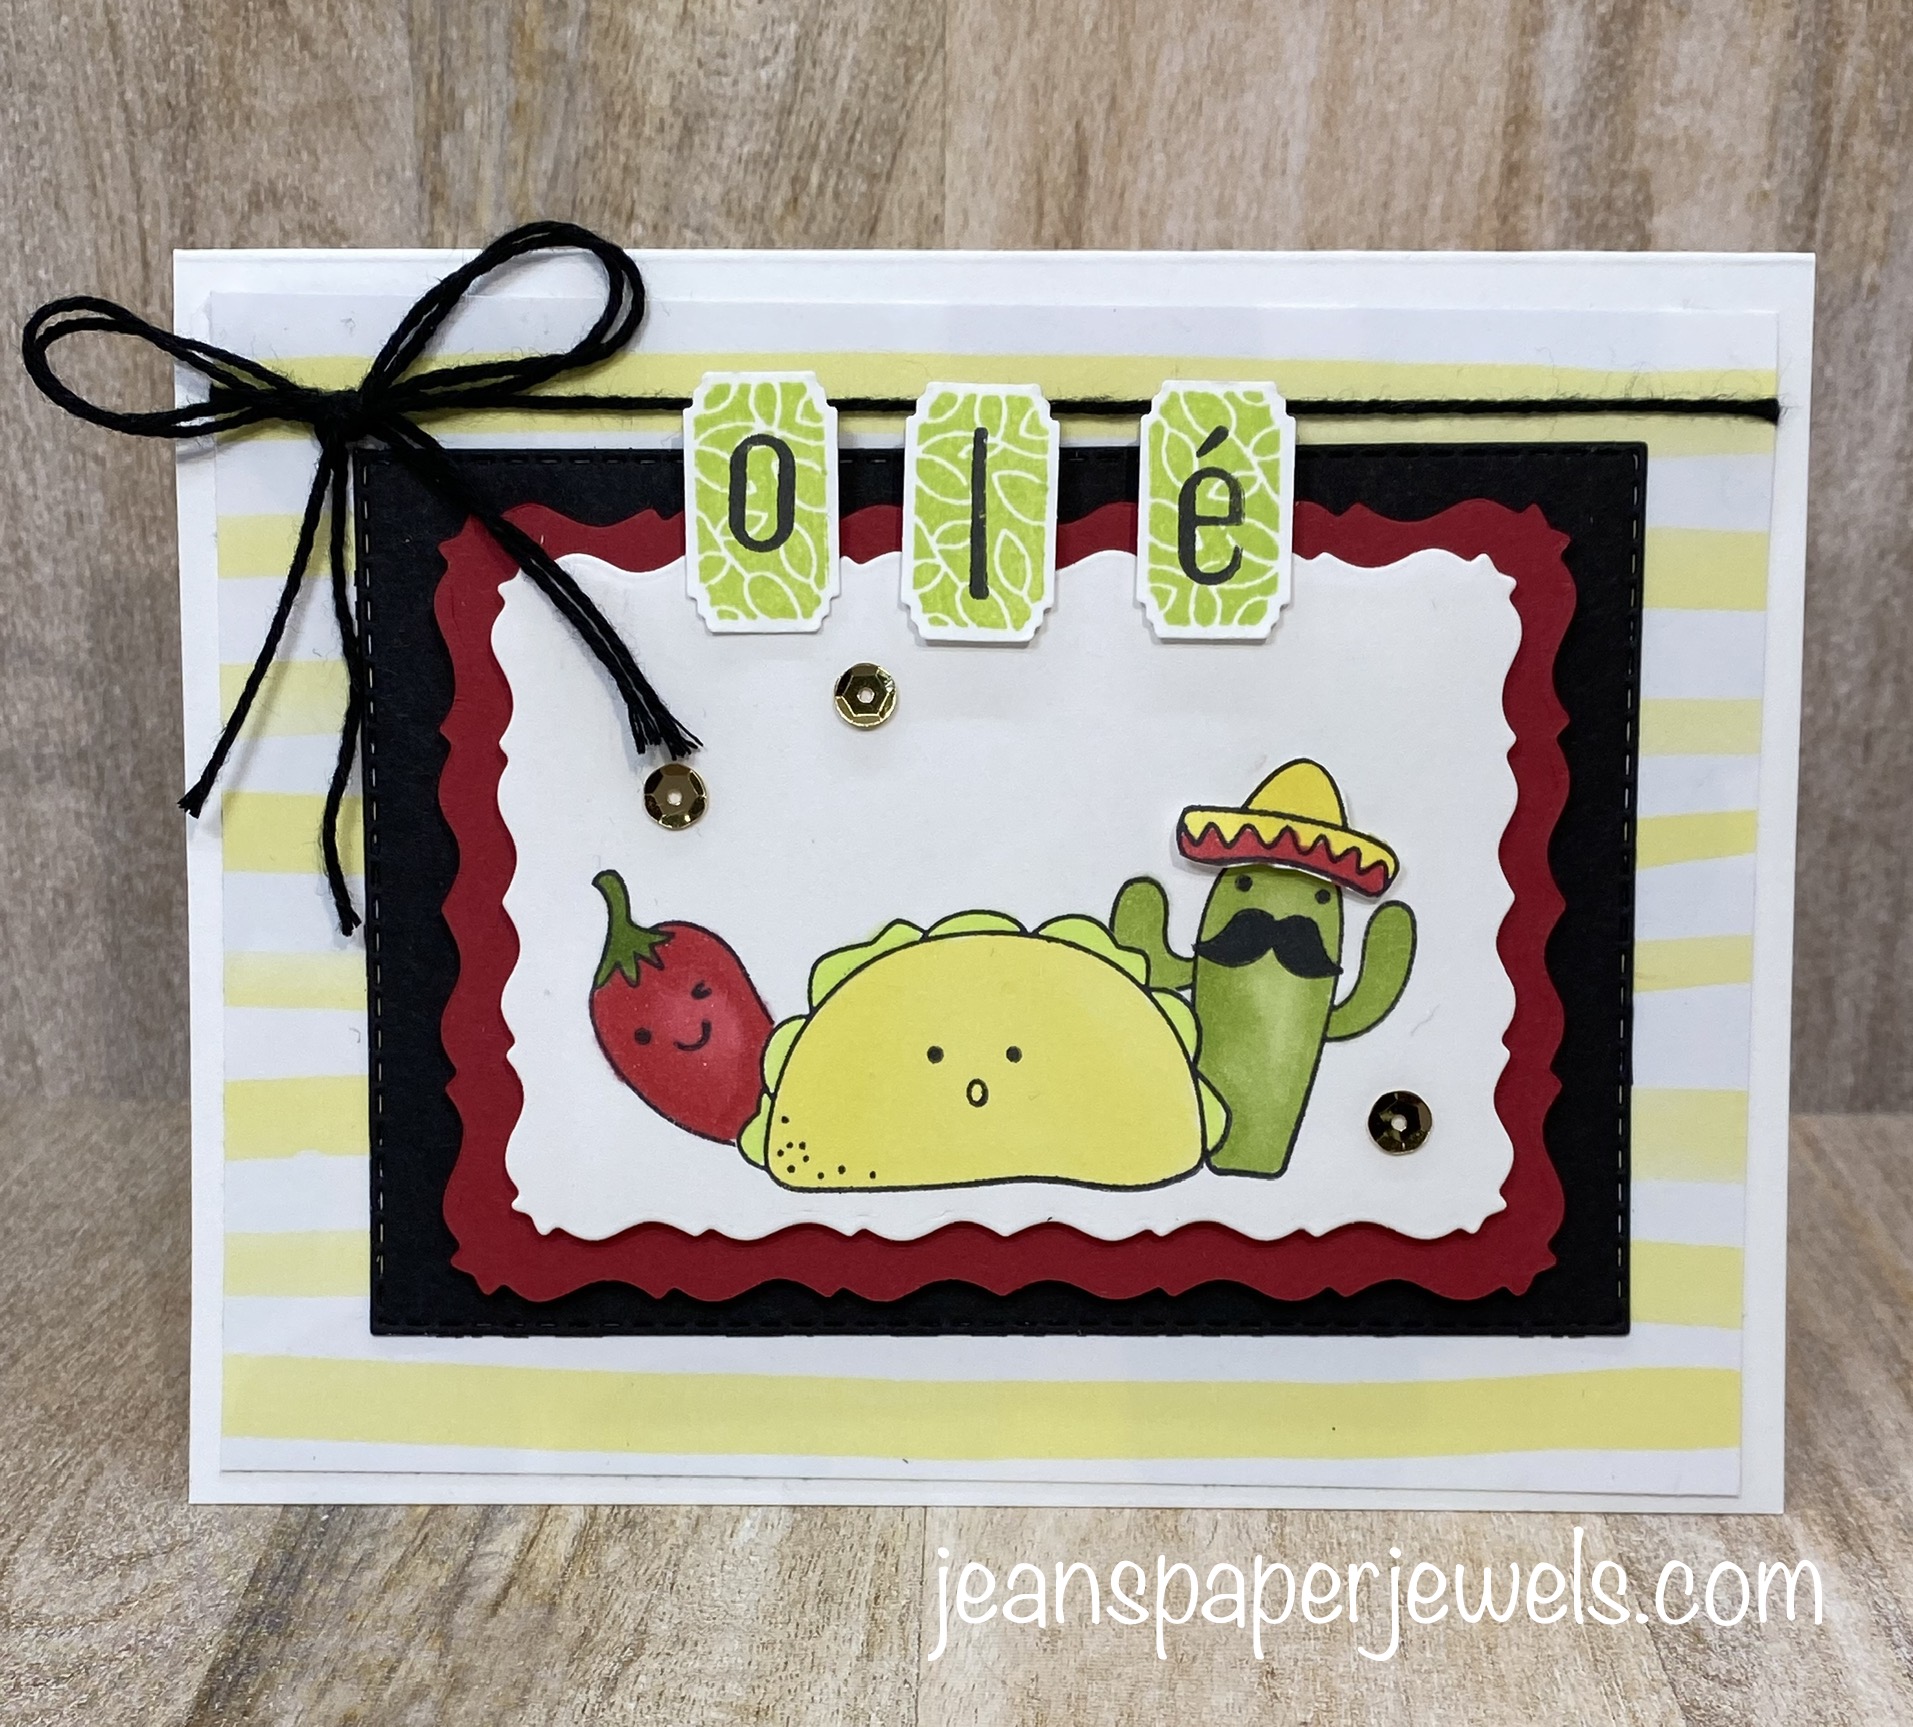
Masking Technique Picture Tutorial Using Taco Fiesta Stamp Set


Masking is a simple card making technique that allows you to stamp multiple images behind your main image using single stamps. I used the Taco from the Taco Fiesta Stamp Set as the main, or focal image on my card. 

Stampin' Up! has Masking Paper that makes this process easier. It has a light tack to it, and you can reuse the masks you make several times. You can also use Post It Notes to mask. Just make sure you stamp right on the sticky part.


Here are the steps:


Monday, March 10, 2014

Mini Treat Bag Tutorial

I posted a picture of some cute little treat holders on my Facebook page last week, and promised a tutorial. See the original picture there.  Are you a fan of my page? If not, please click on the Facebook Icon here on the right then click the Like.  They are so easy to make, and quite fun. Here's what you do:

6 x 4 piece of Designer Series Paper
Score landscape side (6" side),  at 1", 2 3/4", 3 3/4", and 5 1/2"
Score portrait  at 1"

Remove the smallest corner piece and throw away
Cut the remaining four bottom pieces up to the 1" score line to form bottom flaps
Add Sticky Strip to design side where it's scored at 5 1/2, and second bottom flap
(Pieces marked with squiggly lines)
I turned it over to indicate the side that you want the design to show

Adhere sides together first. I pinched the top together before adhering the bottom for easy closure.


You can add anything you want to close the bag. I had the cute mini clothespins leftover from a past My Paper Pumpkin Kit.

Have fun!


 1