Showing posts with label Blending Brushes. Show all posts

Monday, August 4, 2025

Craft Roulette Challenge #278 – A Sweet Thank You with Ombre and Charm


I had so much fun joining in on Craft Roulette Episode #278 this week! The challenge parameters were:

  • Project: Thank You Card

  • Colors: Bakery

  • Element: Shop

  • Random: Ombre

For my card, I featured a simple but stylish Thank You sentiment and one of the lovely rectangle dies from the Textured Notes Bundle—I really love the stitched detail and design around the perimeter.

To create the ombre effect, I taped off a section on the die-cut panel and used blending brushes with Lemon LollyGranny Apple Green, and Garden Green inks. It created such a fresh, cheerful gradient.

I added a sweet little bird and branch from Feathered Friends, stamped in Memento Black Ink, to tie in the shop (Pet) element with a cozy, handmade feel.

The focal panel is mounted on a 4 7/8" x 3 3/8" piece of Garden Green, and that sits on an embossed Soft Sea Foam layer (5 1/2" x 4 1/4")—I used the retired Timber Embossing Folder to add texture. Everything is layered on a Thick Basic White A2 card base.

For a little sparkle, I finished off the card with three white Opal Rounds embellishments. I love how the card turned out—fresh, soft, and full of thanks!

If you’ve never watched Craft Roulette, I highly recommend tuning in! It's live every Friday at 6:30 PM Central on YouTube. Always a fun and inspiring challenge!

Happy crafting! 💚💛🐦
#CraftRoulette #Episode278 #ThankYouCard #StampinUp #TexturedNotesBundle #FeatheredFriends #BlendedBackground #OmbreCard #HandmadeCard #CraftChallenge #StampingFun


Thursday, June 8, 2023

Retiform Technique Cards


Take masking to a new level with the Retiform Technique. This method divides your card stock into grids by masking off one section at a time. You can make the sections different colors like two of today's cards, or stick with one color like the Adventure card. I used Stampin' Up! Blender Brushes along with several ink pads to blend the colors on my cards. The Stampin' Up! Masking Paper came in handy to divide the sections. You can use Post It Notes, or any other straight edge to make the sections. The first card features the Beauty Of The Deep Stamp Set.


I made the second card for Episode #166 of Craft Roulette. It features their newly made stamp set called Craft Roulette - The Basics.


My last card was made with stamps from the May, Exploring In Color, Paper Pumpkin Kit. The Copper Clay Ink Spot was also from that kit.


It's always fun to revisit a technique from the past. I hope you will give Retiform a try!


Wednesday, January 18, 2023

Blending Brush Nautical Cards


Hello, and welcome! I created this card using Let's Set Sail stamp along with the matching Sailboat Builder Punch. I created the background using our Stampin' Blend Brushes. Just a few swishes on Cardstock is all it takes to make a pretty background. Stampin' Up! now has Small Blending Brushes, and a Blending Brush Storage Unit that holds nine of the regular, and/or Small Brushes. There are so many techniques that use Blending Brushes. Today's cards were made using them direct to paper along with our Ink Pads.

The card above is also a Fun Fold Card called Dutch Door Card. You Tube has a bunch of tutorials on these cards. Just put the name in the search. This card was also my submission for Episode 106 of Craft Roulette.


I used the Waves Of Inspiration Bundle for the card above. The possibilities are endless as far as colors, and backgrounds go. I usually blend the background on a larger piece of Cardstock, then trim them down, or use a die to cut them out. They all come out different, and so pretty. I hope you will give this technique a try. 


Thank you for visiting my blog!


Tuesday, January 10, 2023

Loveliest Layers Decorative Masks


Create textured and colored backgrounds with the Loveliest Layers Decorative Masks. This set of decorative masks is designed intentionally for layering. Create a beautiful flower and use it as the focal point on your cards. Or use the basketweave stencil and turn it 90 degrees to get an all-over pattern—perfect for a card background! This set is item #160517, and is $10.50.


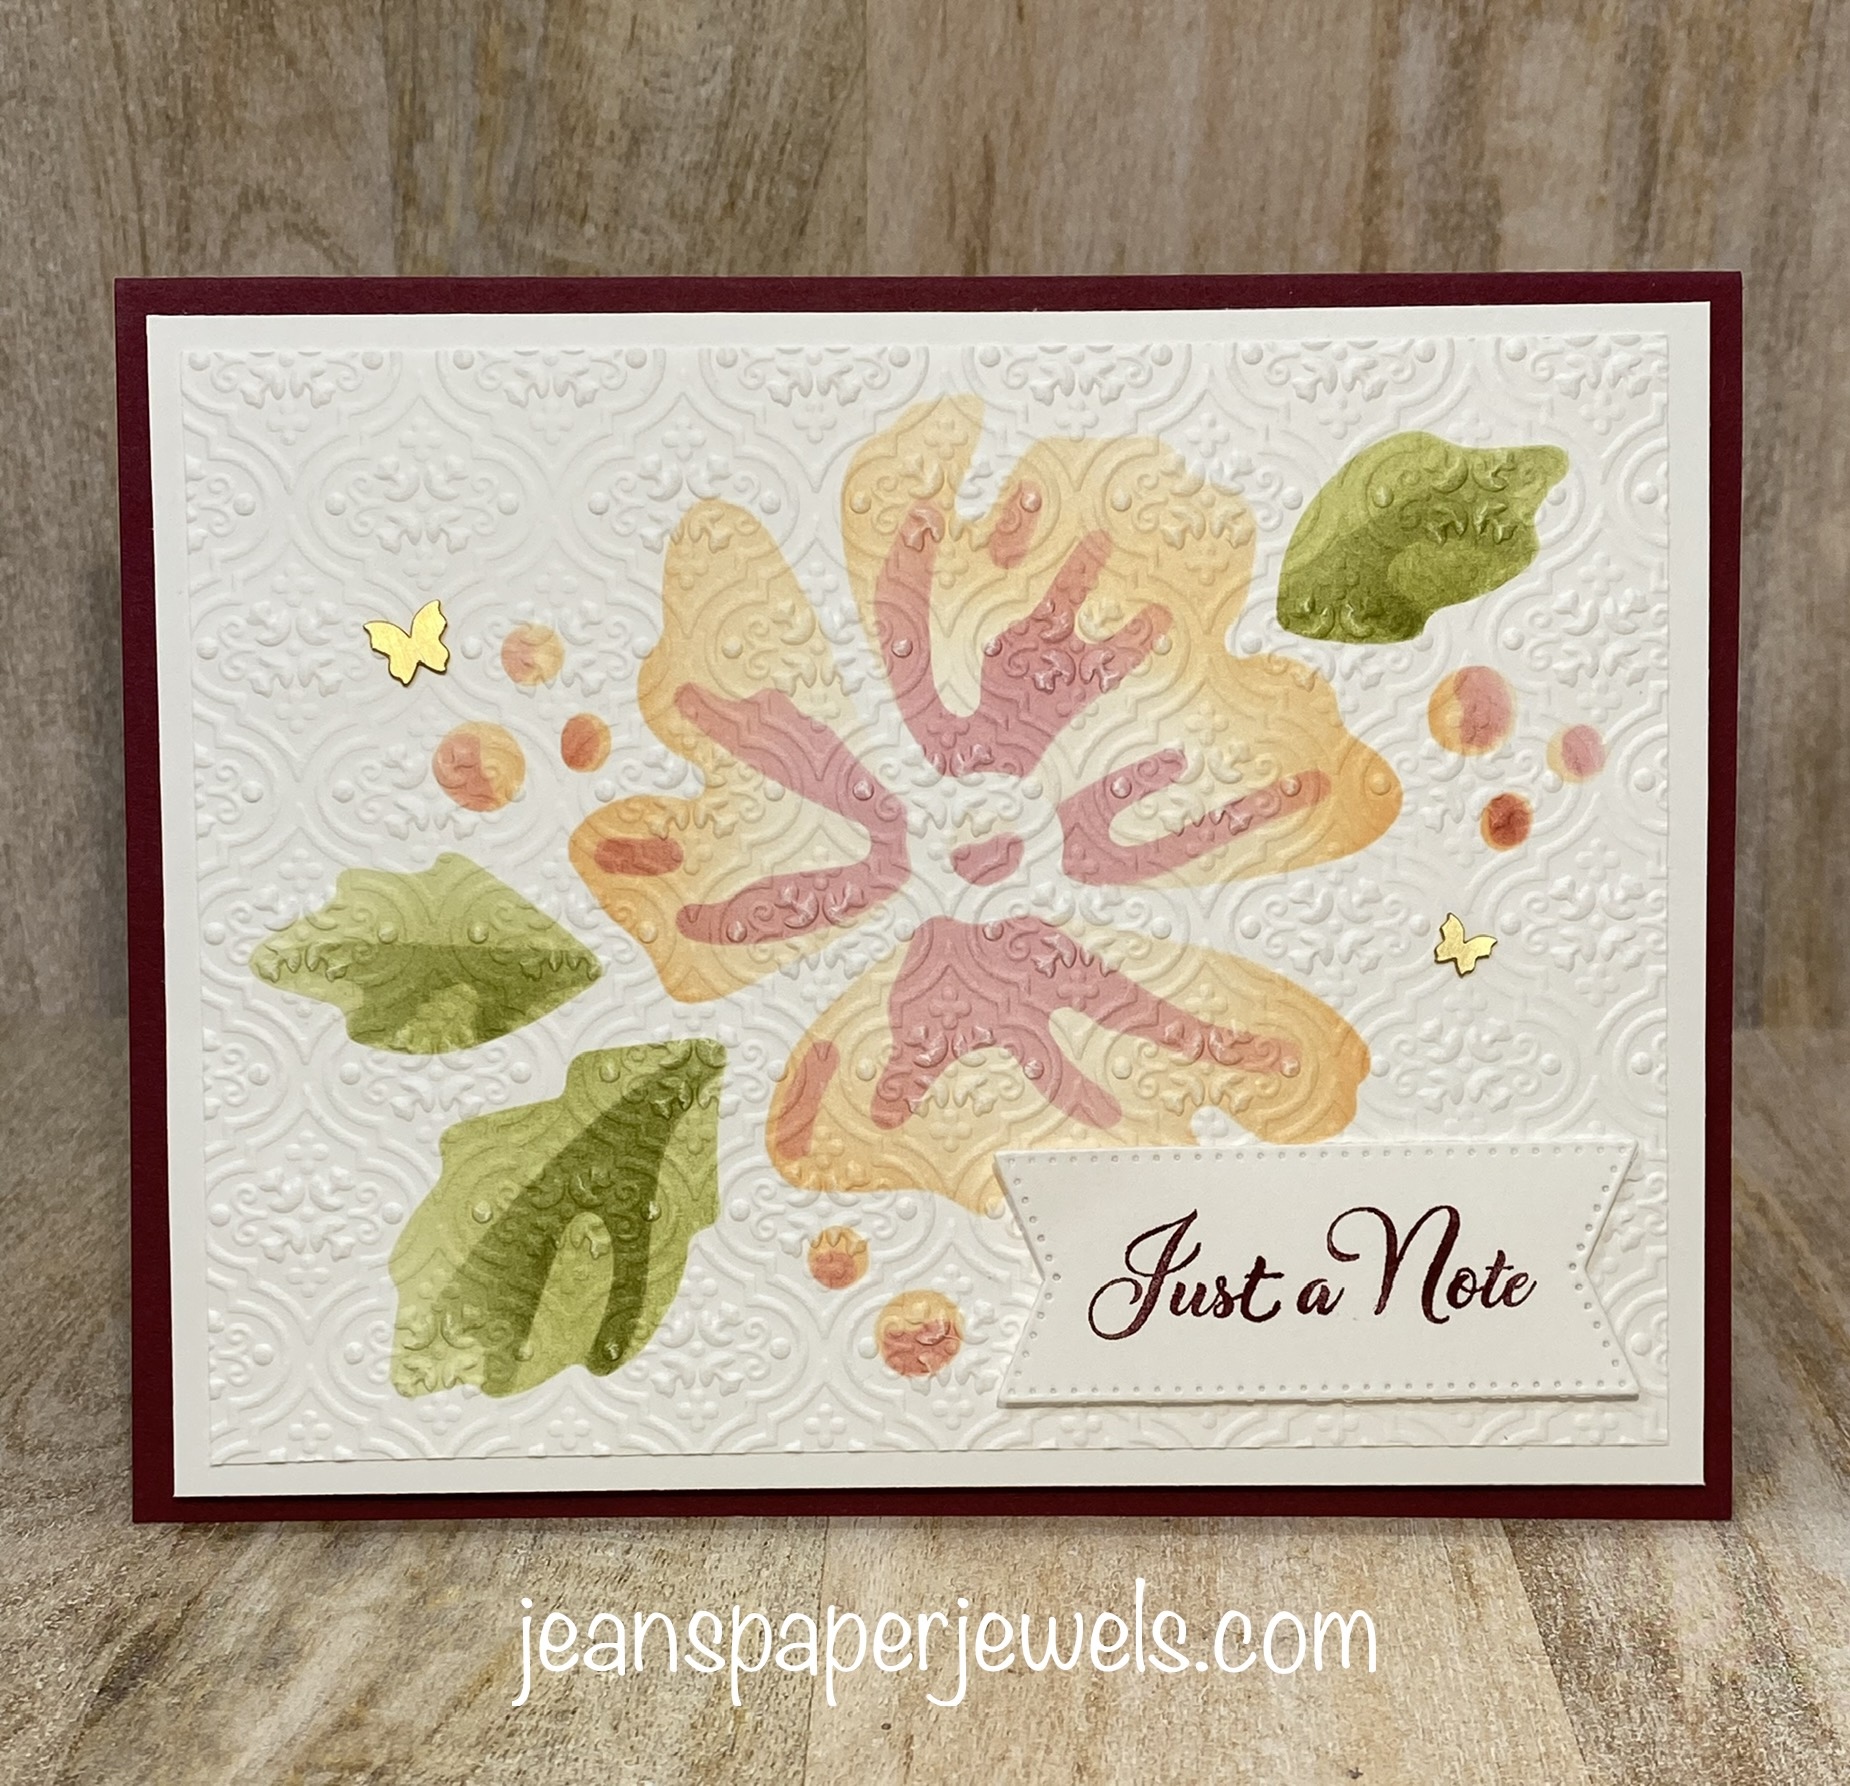
Starting with the lightest color first, I used our Blending Brushes to make the flower for my card. I embossed it with the Quatrefoil Embossing Folder. The sentiment is from the Go To Greetings stamp set. I finished it off with a couple of Brass Butterflies.


I just used the basket weave stencil as is for this background. It can be turned to create a true cross-hatch basket weave, but I liked it the way it was.


The cute, pink cat image is die cut from a birthday card my granddaughter gave me. I plan on giving it right back to her on her next birthday. 


Keep brushes organized and within reach in the Blending Brushes Storage. This neutral storage container will help you stay organized and look pleasing in any crafting space. It can hold up to 9 of our Blending Brushes or Small Blending Brushes. The new Brush Storage unit is item #160519. It is $14. The new Small Blending Brushes are terrific as well. There are 3 per pack for $11.50. Item # 160518.


The January - April 2023 Mini Catalog, and the Sale A Bration Campaign have started. Click on my sidebar to see the Digital Catalogs.


The new Mini Catalog is delightfully full of a variety of stamp sets along with matching die sets, papers, embellishments, and more. From January 5, 2023 - February 28, 2023, for every $50 order, you earn a Sale A Bration product for FREE. I also have a January special! I will send you a package of the pretty, new Iridescent Pastel Gems for your order of $50, plus you will earn my Jean's Paper Jewels Rewards. 


FREE gift for orders of $50 from my Online Store - Iridescent Pastel Gems


Earn FREE products during Sale A Bration! Choose a FREE Sale A Bration product with every $50 or $100 you spend (before tax & shipping). Here's a short video of the stamp offerings. View the digital version of the Sale A Bration brochure for more FREE products.


During Sale A Bration, Stampin' Up! has an amazing deal on their Starter Kit! Join my Jean's Jewels Team as an independent Stampin' Up! Demonstrator, and help others discover the joy of creativity! I welcome happy shoppers, or business builders. You get to decide. There are three Joining Specials!


Thanks for joining me today!


Monday, December 12, 2022

Embossed Resist Shaded Summer Card - Craft Roulette #142


Hello, and welcome! I created this card for Craft Roulette Episode #142. I used the Shaded Summer Stamp Set from the Stampin' Up! Annual Catalog. The background was made by stamping the images using VersaMark Ink on Basic White Card Stock, then adding White Embossing Powder. I then used our Blending Brushes to add Bermuda Bay, Calypso Coral, and Melon Mambo. The embossed flowers resist the ink, and make a pretty effect.  


You can watch the replay HERE

The parameters for this week were:

1. Card With A Tag

2. Blue Green, Plus Two

3. Best Friends

4. Stamped Background

The embossed resist background isn't hard to make. Splitcoast Stampers has a good tutorial HERE. I hope you will give it a try!

Thanks for stopping by today! Have a wonderful day!


Wednesday, December 29, 2021

BUTTERFLIES & FLOWERS LAYERING DECORATIVE MASKS


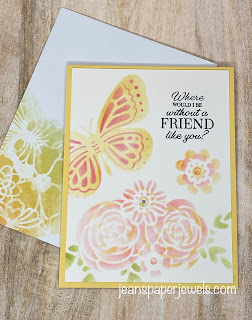
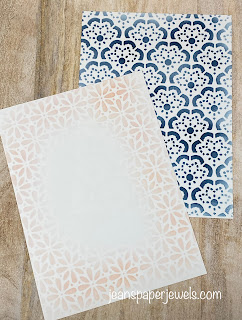
Hello, and welcome! I used the new, upcoming Butterflies & Flowers Layering Decorative Masks for today's cards. It is a set of 6 different masks for $10, and will be available for purchase January 4, 2022. I used two more of the set to create the background mats pictured, and will make them into cards later.


It's really much easier than I thought to use them. Just place the mask over Cardstock, fabric, or other material and add a little color! To hold the mask in place, use temporary adhesive or temporary tape, such as painter's tape. Use just a tiny bit of ink or paint-if you use too much, it will seep under the mask. To clean, wipe off with a baby wipe or rinse off. I used Sponge Daubers on the top card, and Blending Brushes on the second, and extra mats. You could also:
• Spritz using ink, chalk, or glimmer sprays
• Sponge using ink or paint
• Trace using markers
• Emboss using VersaMark Ink and embossing powders
• Add texture using embossing paste.


The sentiments on my cards came from the Special Moments Stamp Set. It will be FREE with $100 purchase (before tax & shipping), during Sale A Bration. This special campaign begins January 4, 2022, and runs through February 28, 2022. Choose a FREE Sale A Bration product with ever $50 or $100 you spend (before tax & shipping). 


I have a private Facebook group where I share my projects, and many more crafty ideas. You're welcome to join! Please search on Facebook for Jean's Jewels Crafty Friends, and send a request. Thanks for joining me!


Friday, December 4, 2020

BUTTERFLY WISHES INK BLENDING


I took a break from Christmas crafting to play around with the new, upcoming Blending Brushes by Stampin' Up! I just got them a few days ago, and I must say they are fabulous. So soft, and easy to work with. The brush heads are just the right size, and the handles are a bit flexible. The perfect combination for ink blending. These brushes will be available in the upcoming January - June 2021 Mini Catalog that goes live January 5, 2021. If you don't want to wait join my Jean's Jewels Team. Stampin' Up! Demonstrators get to order a lot of the new products early.


I started off with a 5 1/2" x 4 1/4" piece of Whisper White. I taped it down to one of my Stamparatus Plates along with two scrap pieces of paper to mask off the top, and bottom. Starting with Daffodil Delight, I worked my way across the white, and finished with Granny Apple Green. I used one brush for the first three colors. In between each color I cleaned it off with my Stampin' Up! Chamois, then dried it with a scrap of paper. I spattered the blended section with Wink Of Stella before I removed it from the plate.


I used the largest die from the Stitched Rectangles set to cut out the brushed layer. I then stamped the sentiment using Memento Ink. I cut the three butterflies from the solid butterfly panel die in the Butterfly Beauties set. The larger butterfly is raised on Stampin' Dimensionals, and the two smaller ones are attached with Mini Glue Dots. I added the completed layer to a Thick Whisper White Card Base using Stampin' Dimensionals. It's a beautiful card! You must try ink blending when you get your hands on the new Blending Brushes.


Product List
Butterfly Wishes Cling Stamp Set
$23.00
Butterfly Beauty Dies
$39.00
Stitched Rectangle Dies
$35.00
Daffodil Delight Classic Stampin' Ink Refill
$3.75
Granny Apple Green Stampin' Pad
$7.50
Magenta Madness Classic Stampin' Pad
$7.50
Mint Macaron Classic Stampin' Pad
$7.50
Pacific Point Classic Stampin' Pad
$7.50
Pumpkin Pie Classic Stampin' Pad
$7.50
Tuxedo Black Memento Ink Pad
$6.00
Whisper White 8-1/2" X 11" Cardstock
$9.75
Whisper White 8-1/2" X 11" Thick Cardstock
$8.25
Clear Wink Of Stella Glitter Brush
$8.00
Stampin' Dimensionals
$4.00


 1